Connecting a camera module to your device or system can be a straightforward process, but it does require some attention to detail and understanding of the specific hardware and software involved. Whether you're working with a Raspberry Pi, Arduino, or a custom-built embedded system, the general steps for connecting a camera module can be outlined as follows. Note that the exact instructions may vary depending on the camera module and host device you are using.

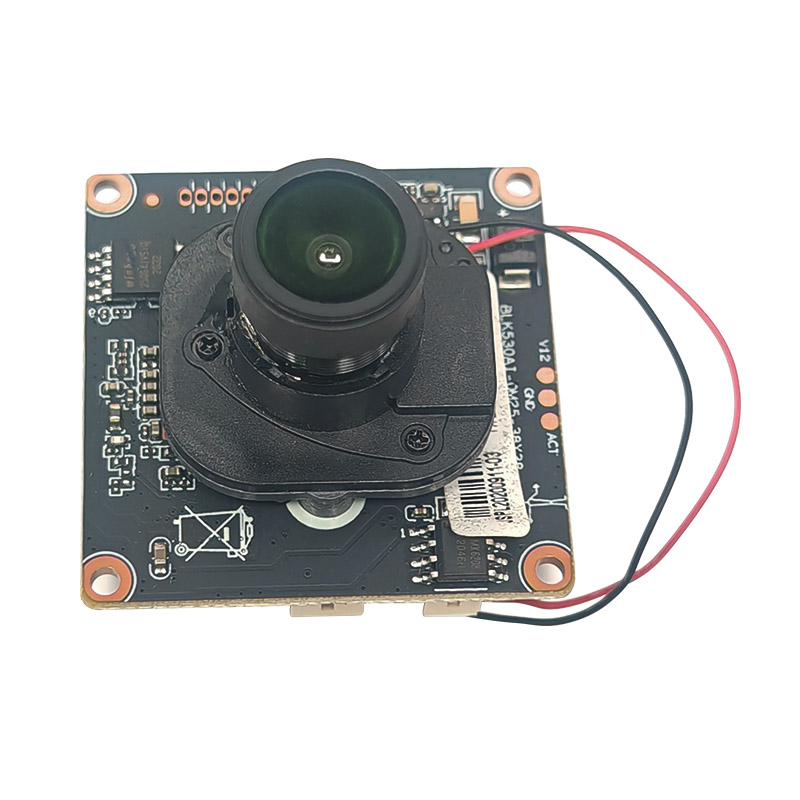
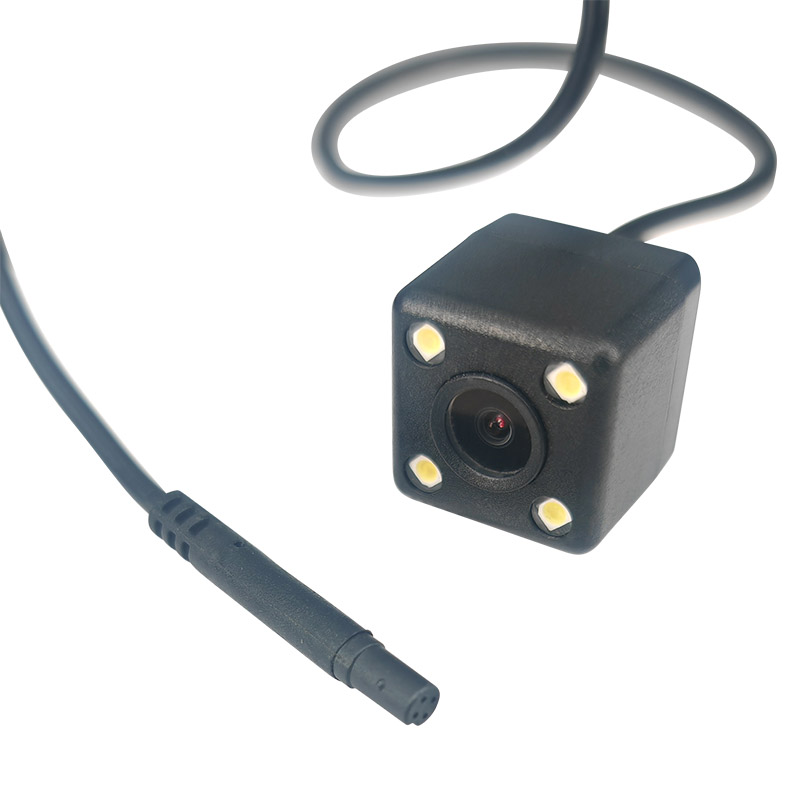
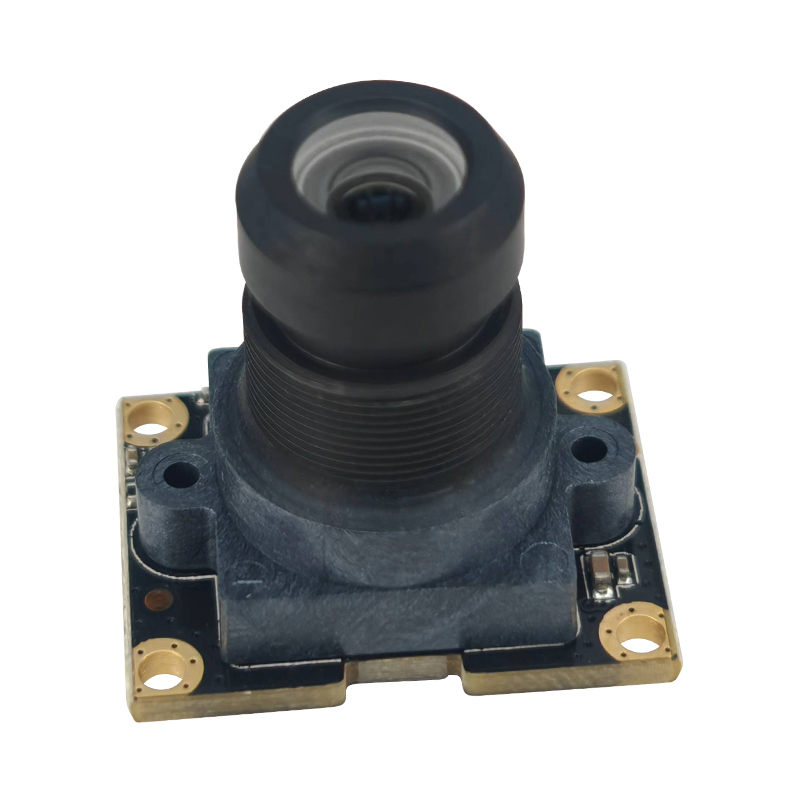
Before you begin, ensure that you have the appropriate camera module for your project. There are various types of camera modules available, such as those designed for Raspberry Pi, Arduino, or other microcontrollers. Each module has its own interface and connectivity requirements.
You will need the following items to connect your camera module:
Host device (e.g., Raspberry Pi, Arduino)
Connectors and cables (e.g., ribbon cables, coaxial cables)
Soldering iron and solder (if soldering is required)
Breadboard and jumper wires (optional, for prototyping)
Screwdrivers and screws (if mounting the camera module)
Check the Pinout: Make sure you understand the pinout of your camera module. This will help you correctly connect it to the host device.
Solder or Attach Connectors: If your camera module uses a ribbon cable or other connector, you may need to solder or attach the connector to the module. Follow the manufacturer's instructions carefully.
Identify the Camera Interface: Determine the interface your camera module uses (e.g., MIPI CSI, Parallel, I2C, SPI).
Connect the Cable: Attach the ribbon cable or other connector to the camera module and the corresponding port on the host device.
Secure the Connection: Ensure that the connection is secure and that there are no loose wires or connectors.
Power Requirements: Check the power requirements of your camera module. Some modules may require an external power supply, while others may be powered through the host device.
Connect the Power Supply: Attach the power supply to the camera module and/or host device as needed.
Step 6: Configure the Host Device
Software Installation: Install any necessary drivers or software for your camera module on the host device.
Enable the Camera Interface: Configure the host device to recognize and use the camera module. This may involve enabling specific hardware interfaces or installing camera-specific libraries.
Launch a Camera Application: Open a camera application or software on your host device to test the camera module.
Check for Errors: Ensure that the camera module is recognized and functioning correctly. Look for any error messages or issues with the image capture.
Adjust Settings: If necessary, adjust the camera settings to optimize the image quality and performance.
Choose a Mounting Location: Decide where you want to mount the camera module. This should be a stable location that provides a clear view of the area you want to capture.
Secure the Camera Module: Use screws, brackets, or other mounting hardware to secure the camera module in place.
Check Connections: Ensure that all connections are secure and properly seated.
Verify Power: Confirm that the camera module is receiving the correct power supply.
Software Compatibility: Make sure that your host device's software is compatible with the camera module.
Driver Updates: Install any available driver updates for your camera module and host device.
Connecting a camera module to your device or system can be a rewarding experience, allowing you to incorporate advanced imaging capabilities into your projects. By following the steps outlined above, you can successfully connect and configure your camera module, enabling you to capture high-quality images and videos for a variety of applications. Remember to always consult the manufacturer's instructions and technical specifications for your specific camera module and host device to ensure compatibility and proper installation.